How to Get and Create Flipside on Instagram
Remember those "Finsta" from way back in 2016? For a long time, the second account has been created as a separate account to show a more 'real' side of its users.
They were popular because people could share more personal stuff without it being on their main profile. Seeing this phenomenon, Instagram wants to facilitate the creation of a second account more efficiently.
Instagram released a new feature called Flipside that's kind of like a modern Finsta. With Flipside, you can share more real and unedited moments without needing a separate account.
Flipside is a great solution for those who are bored of juggling between the first and second accounts.
If you're curious about accessing this feature and maximizing your Flipside account, this guide will show you how to use Flipside easily.
What is Instagram Flipside?
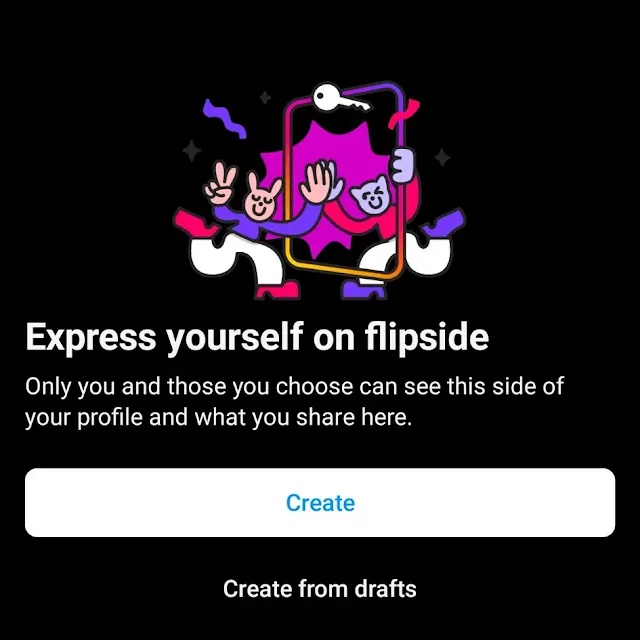
Instagram Flipside is a new feature that lets you create a secret spot on your profile to share personal stuff with just a few friends.
With Flipside, it means you don't have to make a whole new private account to share your personal life.
Inside this secret spot, you can use a different name, picture, and bio so that you can show a more private side of yourself to just your chosen friends.
Unlike Close Friends, Flipside isn't about sharing content with a select group of followers.
Instead, it's about creating a distinct space where users can share more candid, unfiltered content without the pressure of maintaining a separate account.
Flipside grids appear differently from the main account's grids, often featuring a darker interface, and can be used to post both new content and existing drafts from the main account.
How to Get and Activate Instagram Flipside
This feature is still experimental, so not everyone may have access. However, for those interested in trying Flipside, activating it is quick and easy.
Follow this step-by-step to activate Flipside on Instagram:
- Open the Instagram application
- Select the profile menu
- Click the lock button in the bottom right corner of the profile menu
- Wait until the Flipside account is active, which is marked by an animation of the screen turning or flipping
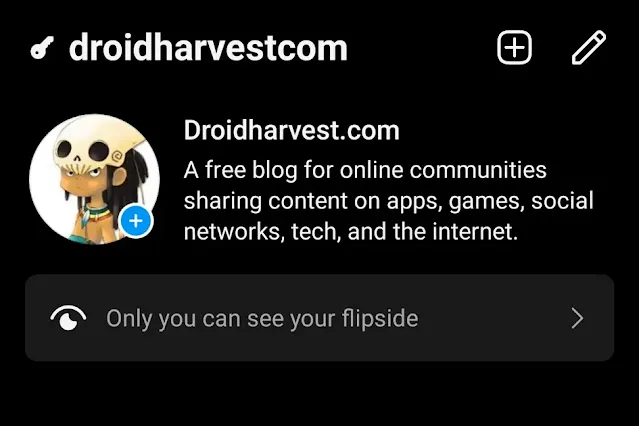
- Click the button "Only you can see your flipside"
- Then select the username you want to add to Flipside.
- If so, click finish.
Simple, right? Now, your Flipside account is all set up and ready to go on Instagram!
How to Make Flipside on Instagram
Now that you've activated Flipside on Instagram, it's time to use it!
Don't worry if you're feeling a bit unsure. We provide you with a simple step-by-step guide.
Follow along, and you will quickly have your Flipside account on Instagram.
- Find the key symbol on Instagram at the bottom right of your profile page.
- Tap the black key, and it will switch you to Flipside. It will look a bit different, but don't worry!
- In Flipside, you can choose a different name profile picture and even write a short bio to describe yourself.
- Pick your friends with whom you want to see your Flipside profile. Right now, you can only share it with friends.
- Want to post something? You can share new photos and videos or even use drafts you already have from your main account.
Easy peasy! Your Flipside account on Instagram has been created and is good to play!
You can make your first post and share it with your closest ones. You can also turn off the Flipside when you are already bored.
How to Add More People on Instagram Flipside
If you have new friends you want to add to Flipside or forgot to add your closest friends, don't worry! Editing your connections on Flipside is very simple. More or less the same as the previous steps.
Follow these steps to include them in your Flipside account easily:
- Open your Instagram profile
- Choose the lock symbol located at the lower right corner.
- You will switch to the Flipside profile
- Press the pencil-shaped icon located in the upper right corner.
- Select "Who can see your Flipside"
- Look for the user account you want to add. Both of you must follow each other.
- Click "Done"
Then, the list of people you choose will be those who can only see your posts on Flipside.
There you are! Now, you can share your life freely with your closest group.
To Sum Up
Flipside on Instagram is perfect for those wanting to update personal things, such as hobbies, without having too many accounts.
For example, you can share art, music, or travel adventures there while reserving personal or bold content for Flipside, where close friends can appreciate it in a space designed for intimate sharing.
Forget about dealing with a whole new account and discover a new way to be yourself.
Ready to show your Flipside and leave behind your second account? Let's post your first Flipside update now!


